A Fly-Out Menu for Xamarin.Android
This post is inspired by Cyril Mottier work on Prixing
The fly-out menu (also called sliding menu and a lot of other colorful names) is a navigation pattern that is is starting to become pervasive in mobile application development both on Android and iOS (since it’s native to neither).
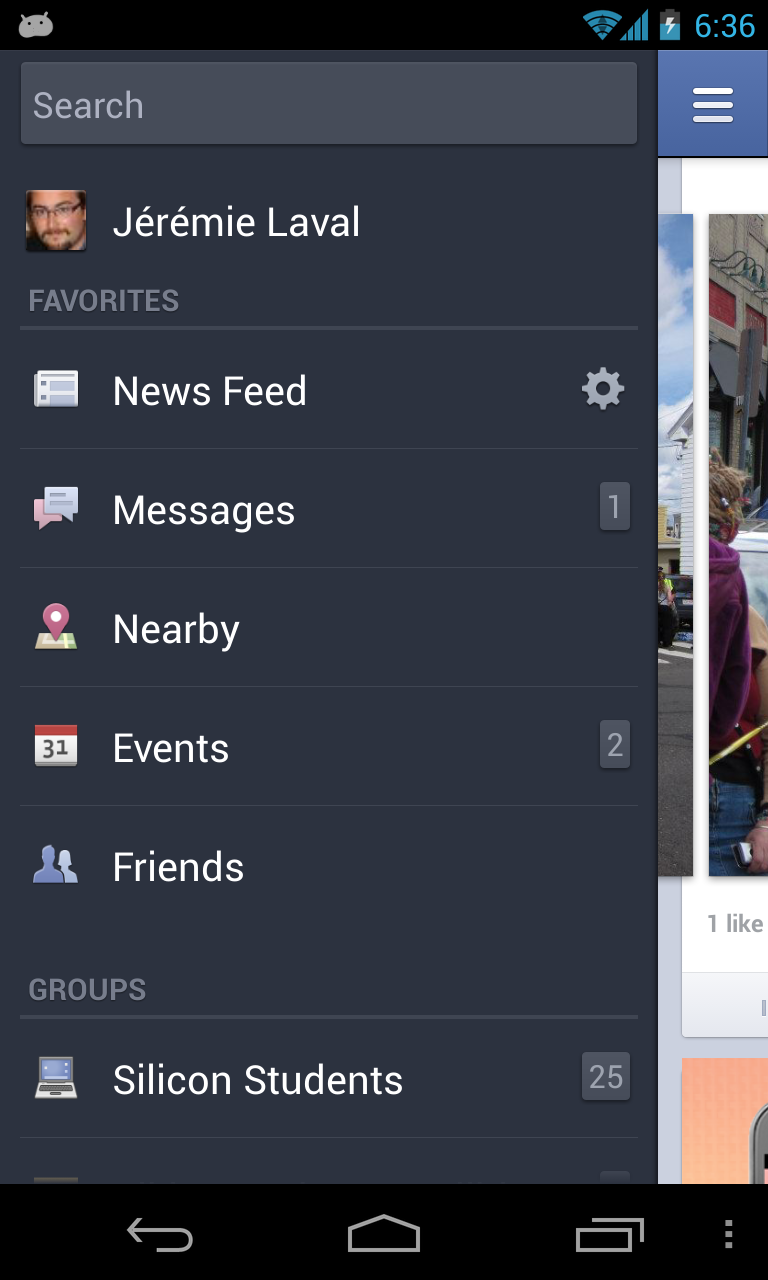
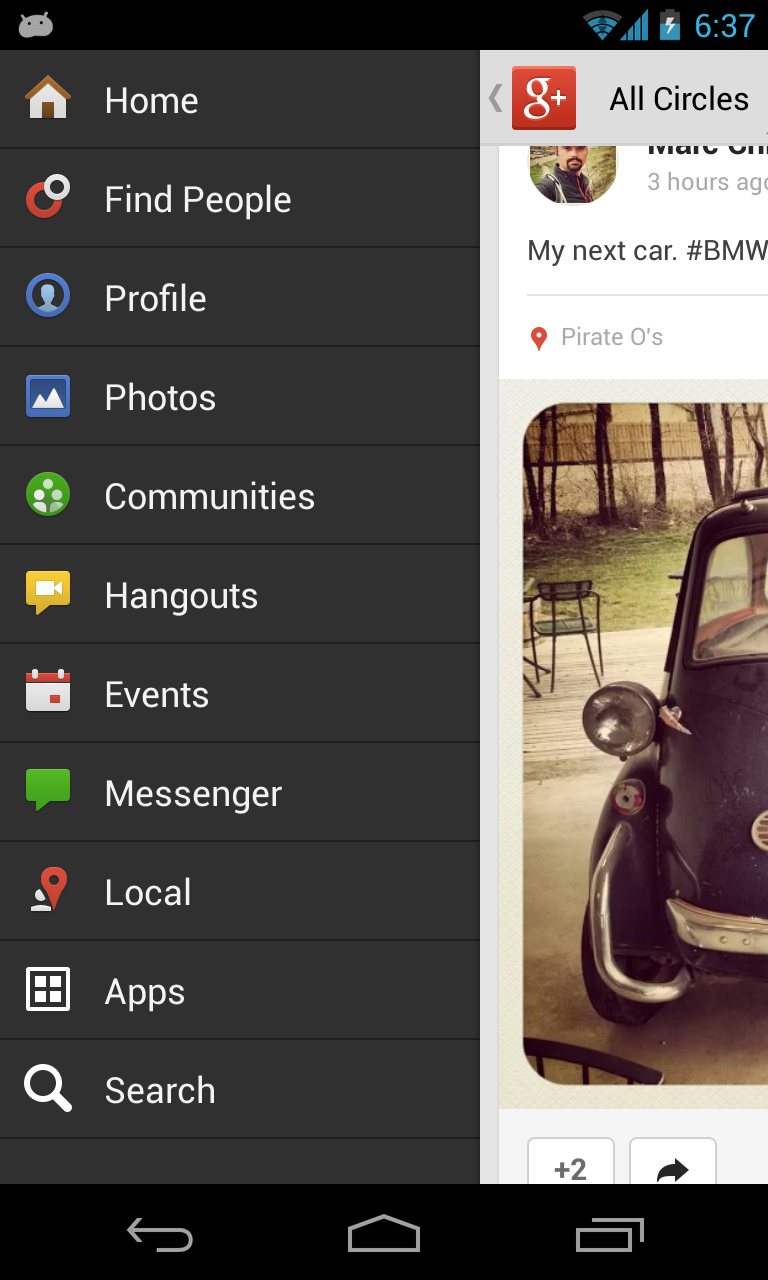
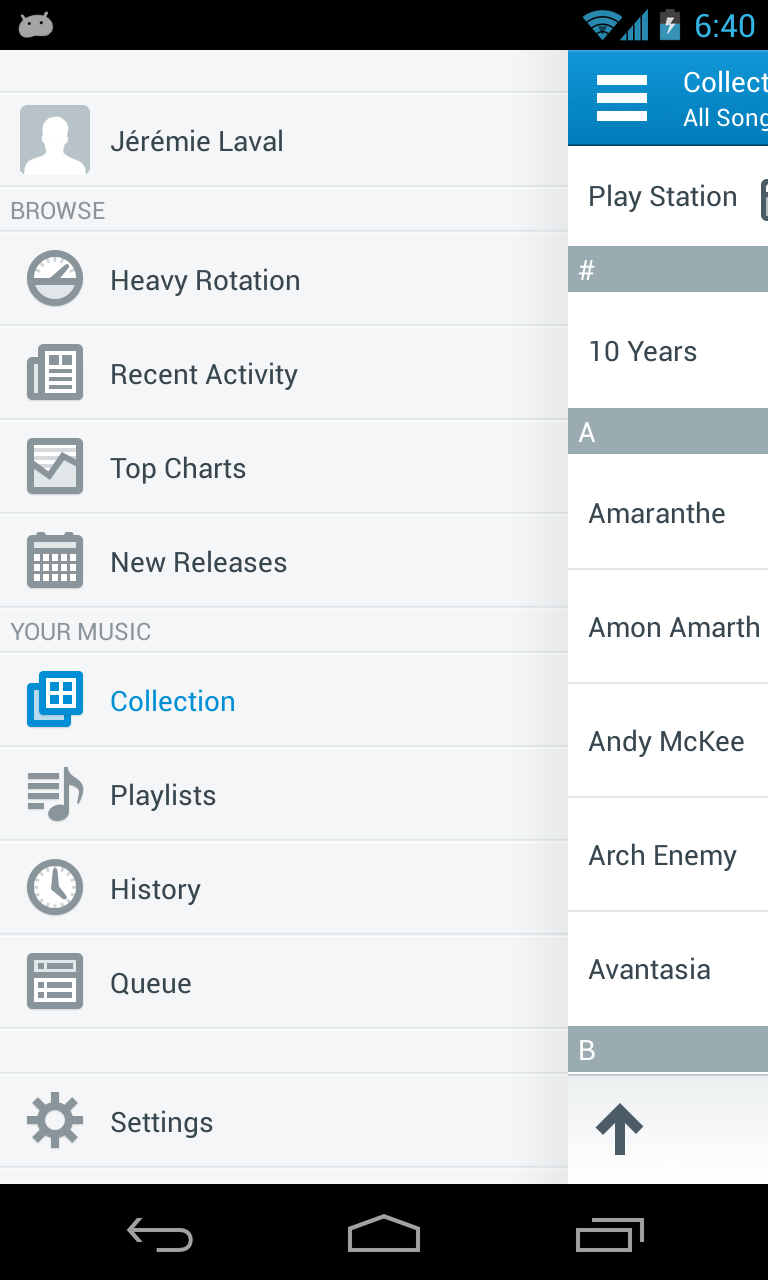
A collection of implementation of the pattern
The idea is to put the navigation menu of your application in an initially hidden drawer that can be revelead by a button press or an horizontal (usually bezel) swipe.
This pattern has multiple advantage: it’s easily accessible, can be maintained across “screens” and is non-invasive in the main UI. However, since the menu is initially hidden, you do lose a bit in term of user discoverability.
Various app have solved that last problem in various ways including adding an specific icon in the menu bar (where it seems that the 3-bars paradigm is winning), having the menu initially opened or adding some form of on-screen animation to point the user to it.
At Xamarin, we are already providing our users with an implementation of that pattern for iOS in our Component store (part of the Xamarin 2.0 release). This blog post is here to provide an equivalent implementation for Android.
Since the actual code of the component is a bit longer than usual, you can read it directly from GitHub.
In our case, the menu is implemented as FrameLayout containing two items, the menu view and the content view. This parent FrameLayout is responsible for showing the menu and also handles the animation and effects applied to it.
This is the skeleton of our main activity layout:
<?xml version="1.0" encoding="utf-8"?>
<flyoutmenu.FlyOutContainer xmlns:android="http://schemas.android.com/apk/res/android"
    android:layout_width="fill_parent"
    android:layout_height="fill_parent">
    <include
        layout="@layout/MenuLayout" />
    <include
        layout="@layout/ContentLayout" />
</flyoutmenu.FlyOutContainer>
Notice the outer layout is our custom FlyOutContainer class. It’s meant to contain two View, one for the menu which ID will be FlyOutMenu and one for the content which ID will be FlyOutContent. The menu must be declared before the content in the XML.
These views have each one additional constraint: the menu view must have its outer layout_width restricted to the maximum desired size for the menu (in portrait mode 300dp seems good) and the content view must have an opaque background (or whatever makes View.IsOpaque happy).
Here is the result:
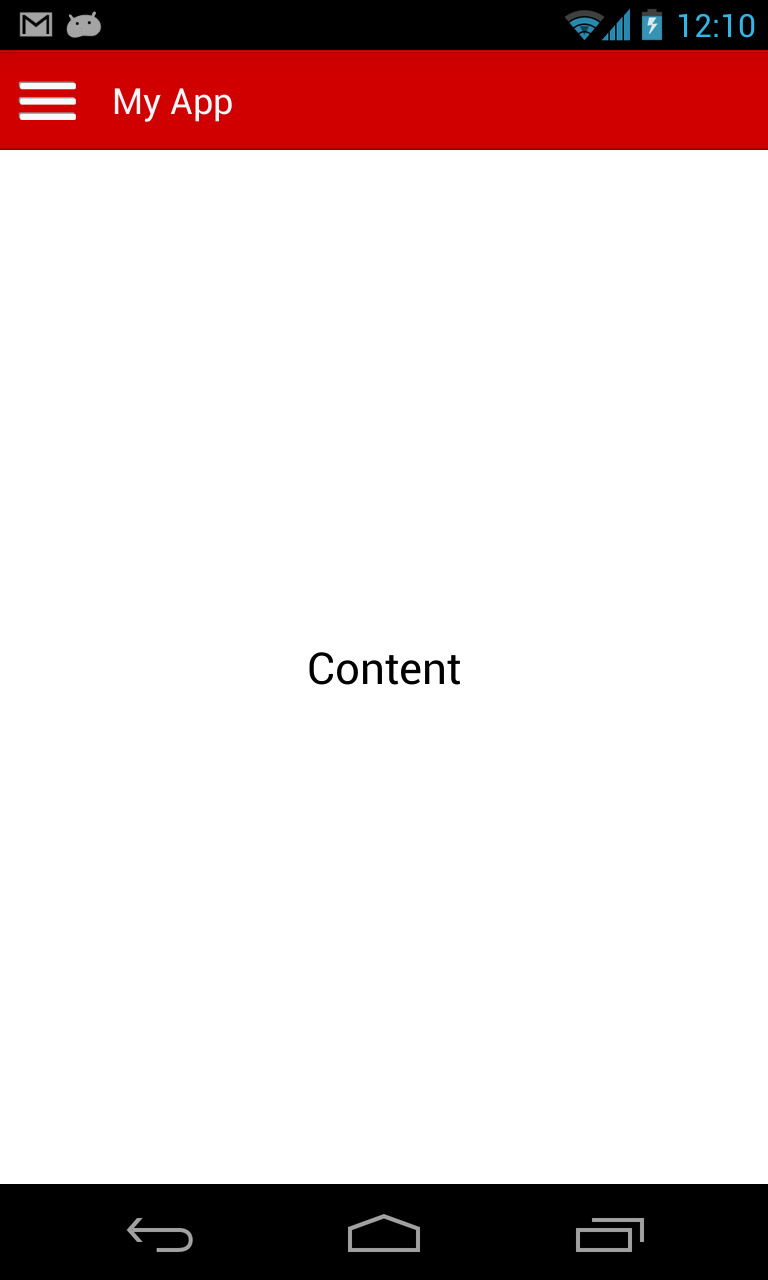
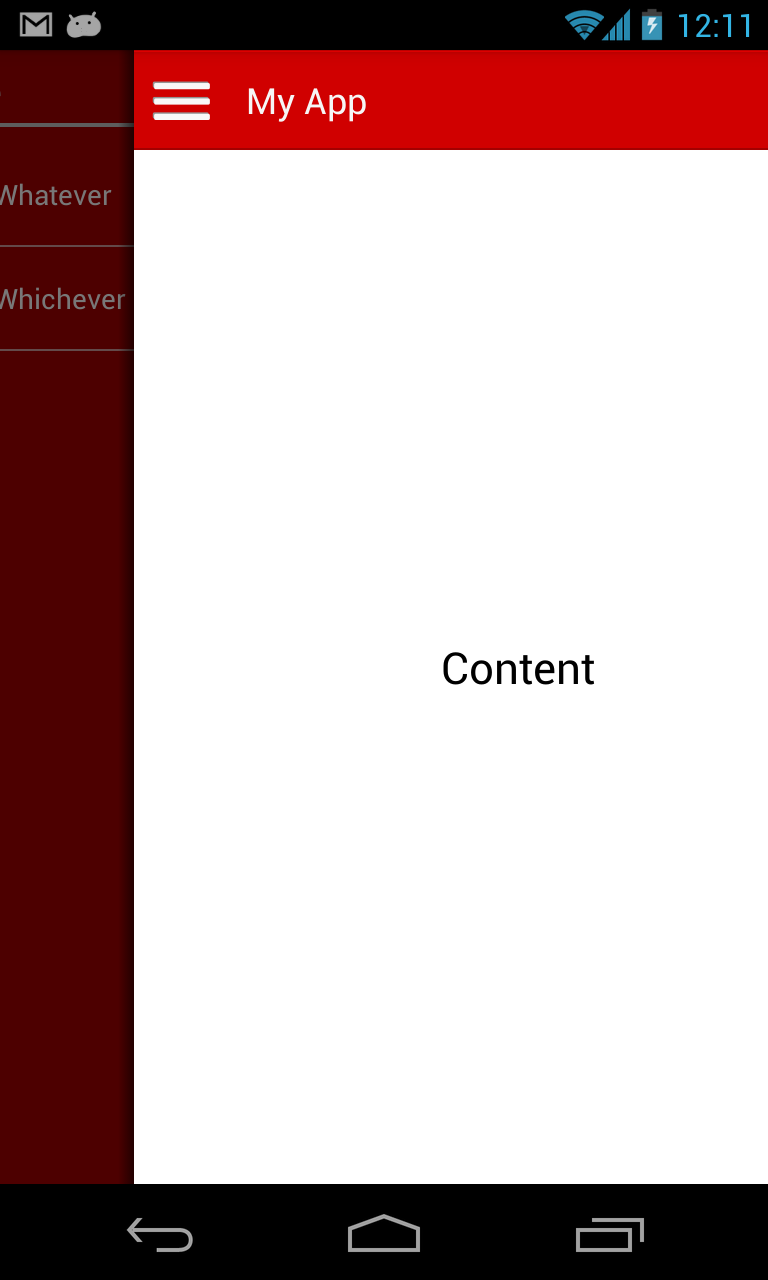
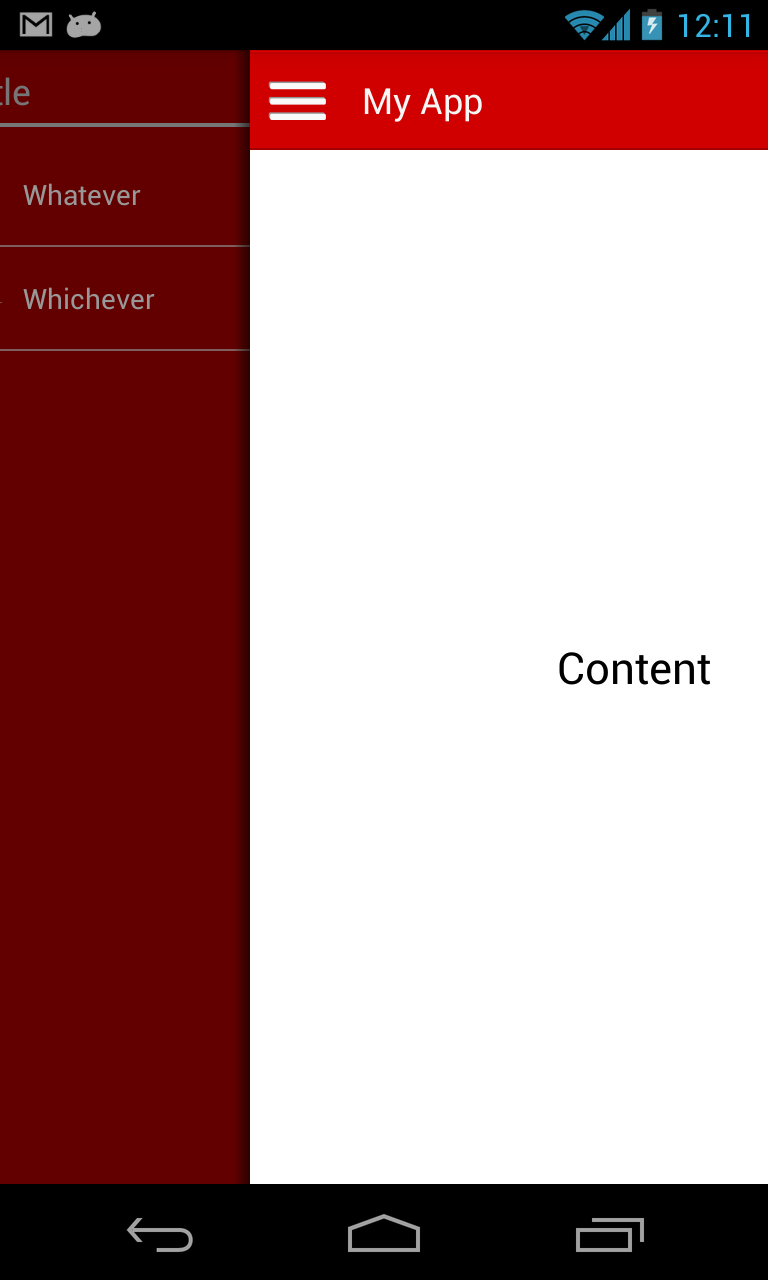
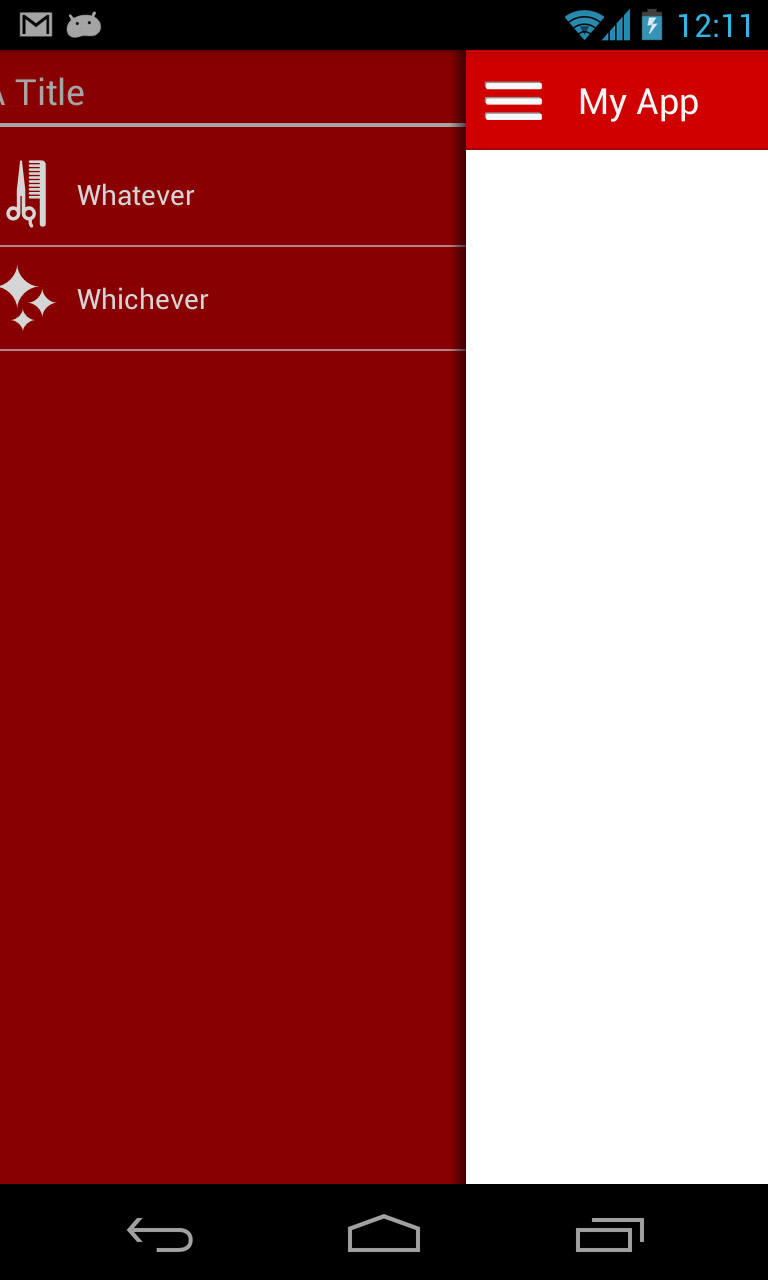
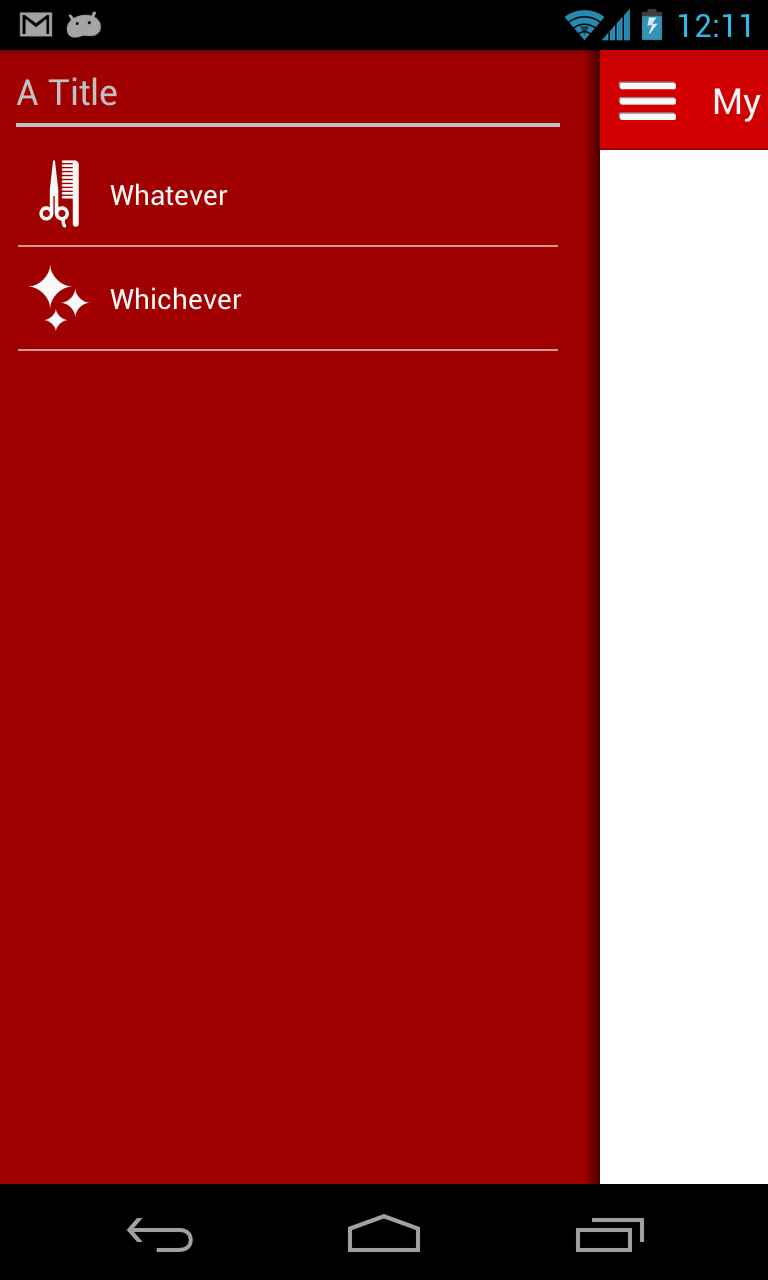
Our menu in its different states when right slided
The GitHub repository includes the full solution for the app in the screenshot if you want to run from it: